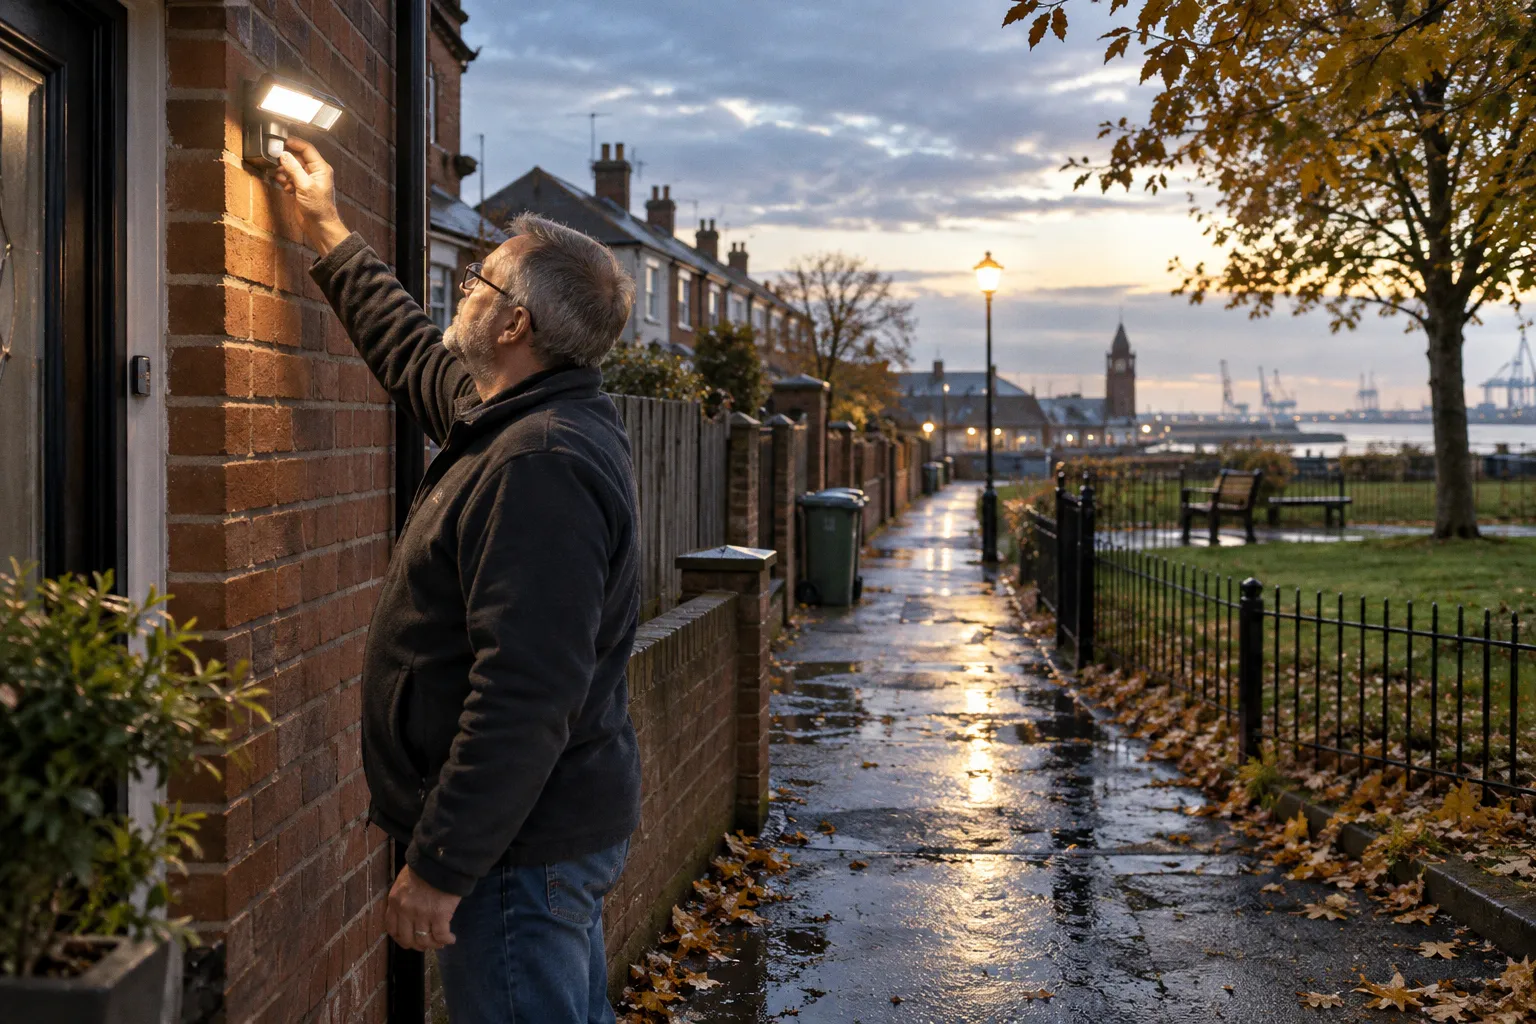
Or the rear floodlight is aimed directly into a neighbour’s window and blinds its own camera every time it activates.
That is the practical issue behind the debate over security lighting vs motion sensors for home safety. Dusk-to-dawn lighting and PIR activation solve different problems. One gives continuous visibility. The other creates a sudden response when movement is detected. Neither is a complete security measure on its own, and neither will compensate for an open gate, a low boundary, or an access point hidden from the street.
The correct choice depends on the zone being protected, the available line of sight, the position of doors and windows, and the way people actually move around the property after dark.
Start with the perimeter, not the fitting
I assess exterior lighting from the same position an opportunist would use: outside the property, looking for the quietest access point and the easiest route to a door or window.
Begin at the pavement or street entrance. Then inspect:
- the front path and entrance door;
- the side passage between the house and boundary;
- the rear gate and alley approach;
- outbuildings, garages, and sheds;
- ground-floor windows concealed by walls, fences, hedges, or parked vehicles;
- areas where a person can stand without being visible from the house or neighbouring properties.
This is a physical audit, not a technology exercise. A light mounted above the front door may be useful for visitors but irrelevant to someone approaching from the side. A motion sensor facing a busy pavement may trigger repeatedly without revealing anything useful. A camera pointed at a dark gate will produce poor footage even if the camera itself is technically capable.
The first question is therefore not whether to buy a PIR floodlight or a dusk-to-dawn lamp. It is: which access point must remain visible, and from where?
Boundary design matters as much as illumination. Under common UK home safety guidance, front boundary hedges and fences are generally kept to around 1 metre to preserve visibility from the street. Rear fencing is commonly recommended at a minimum of 1.8 metres to make climbing more difficult and to create a stronger private boundary. These dimensions are not a substitute for local planning requirements, but they illustrate the basic principle: the front should support natural surveillance, while the rear should resist access.
Lighting is useful only when it exposes an access point, a person, or a route. A bright fixture aimed at the wrong place is decoration with a cable attached.
Dusk-to-dawn lighting: constant visibility at the front
Dusk-to-dawn lighting uses a photocell to switch the fitting on as daylight fades and off again in the morning. The result is continuous illumination through the hours when visibility is lowest.
This approach is particularly suited to front-facing entrances. Secured by Design guidance recommends automatic dusk-to-dawn lighting at the front of a property, where the entrance benefits from a consistent level of visibility. A person approaching the door is not stepping into a sudden pool of light; the entrance is already visible from the road, neighbouring homes, and anyone looking through a front window.
That consistency has several practical advantages:
1. It removes the dark approach.
A path, porch, or front step is visible before a person reaches the door. This helps residents identify visitors and reduces concealed standing areas around the entrance.
2. It supports natural surveillance.
Neighbours do not have to wait for a sensor to trigger. The frontage remains readable from the street throughout the night.
3. It improves the operating conditions for cameras.
CCTV generally performs better when the scene has stable illumination. A camera does not have to switch between near-darkness and intense glare every time movement occurs.
4. It avoids false-trigger fatigue.
A sensor facing the public footway may react to pedestrians, cats, vehicles, or tree movement. Continuous front lighting removes that repeated activation problem.
5. It makes the property appear occupied and maintained.
This is not a guarantee against intrusion. It is a basic deterrent created by removing concealment and showing that the frontage is not neglected.
The weakness is energy use. A dusk-to-dawn light operates for the full night, so the fitting should use an efficient LED lamp and an appropriate output rather than a high-powered unit selected simply because it looks impressive in the shop.
For a typical residential application, a brightness range of approximately 700 to 1,300 lumens is recommended. The lower end may be sufficient for a short path or compact porch. The upper end may be justified where the entrance is set back, the frontage is wide, or the light must cover a gate and adjacent path. More output is not automatically better. Excessive brightness creates glare, hard shadows, and disturbance for neighbours.
Where continuous lighting goes wrong
Front lighting fails when the fitting is mounted too low, aimed horizontally into approaching eyes, or positioned so that the house blocks the most important part of the path.
A simple wall light should illuminate the approach rather than the camera lens. Keep the beam directed down and across the access route. Avoid creating a bright patch immediately beneath the fitting with darkness beyond it. The useful question is whether the full route from boundary to door remains visible.
Do not rely on a decorative porch lamp that leaves the gate and path in shadow. The entrance may look attractive while the real access point remains concealed.
PIR motion sensors: a controlled response for side and rear zones
PIR sensors detect changes in infrared radiation caused by heat and movement. When a person crosses the sensor’s detection field, the fitting activates at high intensity.
This makes PIR lighting well suited to side and rear elevations. Secured by Design guidance recommends switched or PIR motion-sensor lighting for these areas, where continuous illumination can be unnecessary and where a sudden increase in light can draw attention to movement around a gate, passage, or rear door.
The main benefit is controlled operation. The light remains off, or at a low level, until something enters the detection zone. That reduces idle energy consumption and avoids leaving the entire rear perimeter brightly lit throughout the night.
A properly positioned PIR floodlight can:
- expose movement near a rear gate;
- illuminate a person approaching a back door;
- reveal activity beside a garage or outbuilding;
- make it harder to remain concealed in a narrow side passage;
- alert occupants that movement has occurred outside;
- provide a short period of useful light for a CCTV system.
The motion-activated floodlight has disadvantages. It may trigger for the wrong reasons, especially when the sensor is aimed across rather than toward the expected approach. A cat moving along the boundary, a passing vehicle, or foliage moving in the wind can cause repeated activation. If the fitting is used as the only source of light, the camera may capture a sudden flare followed by deep shadow.
Sensor position is therefore critical. A PIR sensor detects movement more reliably when a person crosses its field of view than when they walk directly towards it. Mount the unit so the likely route cuts across the detection area, while keeping the sensor away from public footways and areas with regular passing traffic.
The detection range should be limited to the property. A sensor that reaches over a pavement creates nuisance activation and tells you very little about what is happening inside the perimeter. Adjust the angle, sensitivity, and timer after installation. Do not leave the factory settings untouched and assume the fitting is secure.
Comparing the two approaches by property zone
The choice becomes clearer when the property is divided into zones rather than treated as one open area.
| Property zone | Better starting point | Reason | Main risk to control |
|---|---|---|---|
| Front door and front path | Dusk-to-dawn lighting | Keeps the entrance visible and supports natural surveillance | Concealed approach or poor camera image |
| Side passage | PIR lighting | Activates when someone enters a narrow access route | False triggers from pavement traffic |
| Rear gate | PIR lighting, possibly with low-level background light | Highlights movement at the most likely access point | Sensor blind spot or gate hidden by a fence |
| Rear door | PIR or dual-brightness fitting | Provides a strong response when the door area is approached | Glare into windows and camera washout |
| Garage or shed | PIR lighting | Uses light when the area is occupied rather than all night | Unlit route between house and outbuilding |
| CCTV-covered area | Stable low-level light with controlled boost | Gives the camera a usable baseline and a clear response | Sudden glare and loss of detail |
This is why a blanket answer to the security lighting vs motion sensors question is usually poor advice. Front and rear elevations perform different security functions. The frontage should be visible as a matter of course. The side and rear should respond decisively when movement crosses the boundary.
Brightness is a design decision, not a competition
A security light with a large lumen rating can still perform badly. Brightness must be considered alongside mounting height, beam angle, surface colour, boundary layout, and camera position.
Residential exterior security lights typically work within the 700 to 1,300 lumen range. That is enough for many paths, entrances, and perimeter areas without producing unnecessary glare or neighbour disturbance. Heavy-duty solar products may advertise outputs of around 2,800 or 3,000 lumens, but those figures do not automatically make them suitable for a domestic boundary. A fitting at that level may be excessive for a small rear yard and can create a sharp contrast between a bright foreground and an unreadable background.
Use the following practical sequence:
1. Identify the access point.
Do not begin with the lamp output. Begin with the gate, door, window, or route that needs to be visible.
2. Check the line of sight.
Stand outside the boundary and view the property from the approach. Confirm that the selected fitting will illuminate the route without being blocked by a wall, hedge, or roofline.
3. Set the beam below eye level.
Aim light onto the ground and vertical surfaces around the access point. Avoid shining directly towards the street, neighbouring windows, or a camera.
4. Use the lowest effective output.
If 700 lumens clearly covers the path, moving to 1,300 lumens may add glare rather than protection.
5. Test the shadows.
Walk the route after dark. Look for the dark strip beside the gate, under the window, behind the shed, or beneath the stairs. That is where the vulnerability remains.
6. Recheck after installation.
The property changes. A new fence panel, stored bin, climbing plant, or parked vehicle can create a concealed position that did not exist when the light was fitted.
A good light makes the perimeter easier to read. It should not turn the property into a floodlit target while leaving the boundary itself invisible.
The strongest option is often dual-brightness lighting
Dual-brightness fittings combine continuous low-level illumination with a full-brightness response when movement is detected. In practice, the lamp remains on at a reduced percentage after dark and rises to full output when the PIR sensor activates.
This approach is useful where a completely dark perimeter is undesirable but full dusk-to-dawn illumination would be wasteful. A low background level gives a camera and the resident some baseline visibility. The brighter response then identifies movement at the gate, path, or rear door.
It also reduces one of the main weaknesses of a standard motion floodlight: the sudden transition from darkness to glare. If the area is already lightly illuminated, the camera is less likely to lose detail when the fitting reaches full output.
Dual-brightness technology is not automatically the right answer for every elevation. A front entrance may still benefit from stable dusk-to-dawn illumination. A quiet rear boundary may work perfectly well with PIR activation alone. The fitting must match the zone.
Consider a combined system when:
- the rear door is covered by CCTV;
- the side passage is used regularly by residents;
- the boundary is deep enough for a person to approach unseen;
- there is a need for low-level visibility without full-night brightness;
- the property has nearby neighbours who would be disturbed by repeated floodlight activation.
Set the low level conservatively. The purpose is to remove total darkness, not to provide full working light all night. Set the boost level high enough to expose the access point, but not so high that it washes out the camera or shines into adjoining properties.
Lighting cannot repair a weak access point
Exterior lighting is a layer of security. It does not replace physical target hardening.
A bright rear door with a weak lock remains a weak rear door. A well-lit side path leading to an unlatched gate remains an easy route. A camera with a perfect night image is not a barrier.
After the lighting audit, inspect the physical perimeter:
- Make sure side and rear gates close fully and cannot be lifted from their hinges.
- Keep gate hardware on the protected side where possible.
- Remove large items that can be used to climb the boundary.
- Keep front hedges low enough to preserve a clear view of the entrance.
- Use taller rear fencing to make direct access more difficult, while avoiding concealed pockets beside sheds and extensions.
- Mark bicycles, tools, and other portable property so they are harder to sell and easier to identify.
- Position bins, trellis, ladders, and stored timber away from gates and windows.
- Check that external doors and ground-floor windows are not hidden from neighbouring views by uncontrolled planting.
The aim is defensible space: a boundary and frontage that make it clear where public space ends, where private space begins, and which routes are controlled. Lighting supports that arrangement by exposing movement. It should not be asked to create the arrangement by itself.
The best perimeter lighting plan is usually mixed: steady visibility at the front, controlled activation at the sides and rear, and no fitting aimed blindly into the camera or the neighbour’s bedroom.
A practical installation sequence
Work around the property in a fixed order. This prevents the common mistake of installing an expensive fitting at the front while leaving the rear access unresolved.
1. Mark every access point
List the front door, side gate, rear gate, garage, shed, patio door, and vulnerable ground-floor windows. If a route leads to one of these points, include it in the audit.
2. Divide the property into zones
Treat the front, side, and rear separately. Do not use one lighting rule across all three. The front is primarily a visibility zone. The side and rear are response zones.
3. Select the lighting method
Use automatic dusk-to-dawn lighting for the front entrance. Use switched or PIR lighting for side and rear elevations. Consider dual-brightness where a camera or resident needs a low background level.
4. Install to protect the line of sight
Mount the fitting so the beam reaches the approach, gate, door, and ground immediately around the access point. Avoid placing the lamp where a wall or roof blocks the important area.
5. Adjust the PIR field
Limit detection to the property. Reduce sensitivity if the fitting responds to public movement. Set the timer long enough to reveal the route, but not so long that every minor trigger leaves the area illuminated for extended periods.
6. Test from outside the boundary
Walk towards the property using the route an opportunist would choose. Check where the light activates, what the camera records, and whether the person is visible before reaching the door or window.
7. Correct glare and blind spots
If the light shines into eyes, windows, or lenses, change its angle before increasing its brightness. If one side of the gate remains dark, reposition the fitting or add a second lower-output source.
8. Reassess the physical barrier
Finish by checking the gate, lock, fence, hedge, shed, and stored items. Lighting should reveal the perimeter you have built, not distract from a weakness that remains obvious at close range.
The decision in plain terms
For most homes, dusk-to-dawn lighting is the stronger choice at the front entrance because it keeps the approach consistently visible. PIR motion lighting is more efficient and more useful at side and rear access points because it responds when someone enters the perimeter.
The practical comparison is straightforward:
- Choose dusk-to-dawn lighting where continuous visibility, natural surveillance, and stable CCTV conditions matter.
- Choose PIR motion lighting where the area is quiet, movement should trigger a response, and full-night illumination would be unnecessary.
- Choose dual-brightness lighting where you need a low background level plus a stronger response.
- Avoid using any of them as a substitute for a secure gate, controlled boundary, and visible access route.
For a typical North East Lincolnshire property, the most defensible arrangement is not the brightest one. It is a deliberate combination: a steady, modestly powered light at the front; controlled activation along the side and rear; and enough physical boundary control to ensure that light reaches the person before the person reaches the door.
That is the useful answer to security lighting vs motion sensors for home safety. Start with the access point, preserve the line of sight, keep brightness within a sensible residential range, and make every fitting serve a specific part of the perimeter.